How to Make a Minecraft Potion of Weakness: A Complete Guide
We embark on a thorough journey into the art of crafting a Minecraft potion of weakness, an essential tool for players navigating the vast landscapes of this beloved game. Whether we aim to cure a villager’s zombie infection or weaken formidable foes, mastering the potion of weakness enhances our strategic gameplay. This guide provides an exhaustive exploration of the brewing process, including required materials, step-by-step instructions, and advanced techniques, ensuring we become proficient in creating this vital potion across all Minecraft versions, including the latest 1.21 update.
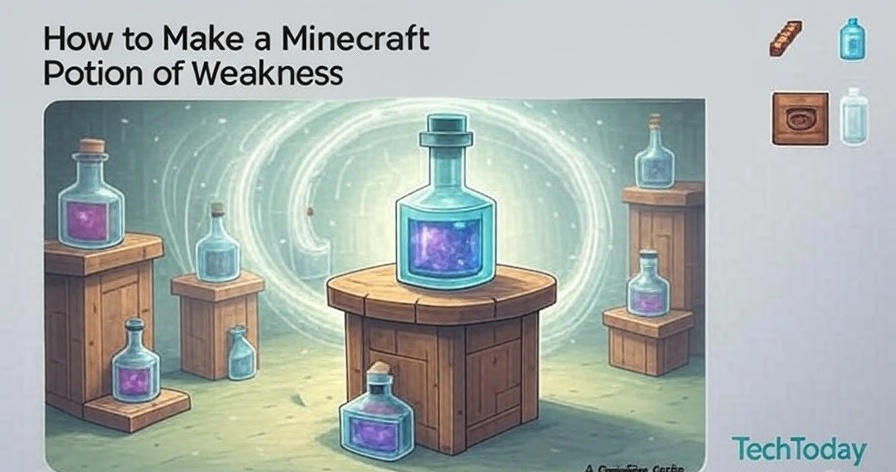
Understanding the Minecraft Potion of Weakness
The Minecraft potion of weakness is a brew that reduces a target’s melee attack damage by 0.5 points for 1.5 minutes in its base form. We find its primary use in converting zombie villagers back into regular villagers, a process requiring a splash version of the potion combined with a golden apple. The potion’s effect can be extended or intensified with additional ingredients, making it a versatile addition to our inventory. Available in both regular and splash variants, we rely on it for peaceful resolutions or tactical advantages in combat scenarios.
In Minecraft’s brewing system, the potion of weakness is categorized as a status effect potion, distinct from healing or strength potions. We note that its murky brown appearance, achieved through specific brewing combinations, symbolizes its debilitating nature. Understanding its mechanics allows us to integrate it effectively into our survival or creative strategies.
Required Materials for Crafting a Potion of Weakness
To craft a Minecraft potion of weakness, we gather the following materials:
- Blaze Rod: Obtained by defeating blazes in the Nether, we use it to create blaze powder, the fuel for the brewing stand.
- Brewing Stand: Crafted with 3 cobblestone and 1 blaze rod, we place it as our brewing station.
- Water Bottle: Made by filling a glass bottle with water from a cauldron or water source, we prepare three bottles per batch.
- Fermented Spider Eye: Crafted from a spider eye, brown mushroom, and sugar, we use this as the key ingredient to induce the weakness effect.
- Cauldron (optional): Useful for storing water, we employ it to fill multiple glass bottles efficiently.
- Glass Bottles: Crafted from 3 glass blocks in a V shape, we ensure a steady supply for brewing.
We source these items from various biomes and dimensions, with the Nether being a critical location for blaze rods. Stocking up ensures uninterrupted brewing sessions.
Step-by-Step Guide to Brewing a Basic Potion of Weakness
We begin the process of crafting a Minecraft potion of weakness with a clear, methodical approach. Follow these steps:
- Craft the Brewing Stand: Arrange 3 cobblestone in the bottom row and 1 blaze rod in the center of the crafting table. Place the brewing stand on the ground.
- Create Blaze Powder: Break down a blaze rod into blaze powder using the crafting table, then add it to the brewing stand’s fuel slot.
- Prepare Water Bottles: Fill glass bottles with water from a cauldron or water source block, placing them in the brewing stand’s bottom three slots.
- Add Fermented Spider Eye: Place a fermented spider eye in the top slot of the brewing stand. Wait for the progress bar to complete, transforming the water bottles into potions of weakness.
- Collect the Potions: Once brewing finishes, remove the potions of weakness from the stand, ready for use or further modification.
This process yields three potions of weakness, each lasting 1.5 minutes. We verify the potion’s readiness by checking its icon, which displays the weakness effect symbol.
Enhancing the Potion of Weakness with Redstone
To extend the duration of our Minecraft potion of weakness, we incorporate redstone. Here’s how we proceed:
- Gather Redstone: Mine redstone ore with an iron pickaxe or higher in the Overworld, collecting redstone dust.
- Reload the Brewing Stand: Refill the fuel slot with blaze powder and place the basic potions of weakness in the bottom slots.
- Add Redstone Dust: Insert redstone dust into the top slot. The brewing process extends the effect to 4 minutes.
- Retrieve Enhanced Potions: Remove the extended potions of weakness, noting the updated duration on the item tooltip.
We find that this enhancement is ideal for prolonged interactions, such as curing multiple zombie villagers in a single session.
Creating a Splash Potion of Weakness
For applying the potion of weakness to others, we craft a splash version. The steps are as follows:
- Obtain Gunpowder: Defeat creepers or witches to gather gunpowder, a key ingredient for splash potions.
- Set Up Brewing Stand: Add blaze powder as fuel and place the basic or extended potions of weakness in the bottom slots.
- Add Gunpowder: Place gunpowder in the top slot. The brewing process converts the potions into splash variants.
- Collect Splash Potions: Remove the splash potions of weakness, which now feature a bubbling effect icon.
We use these splash potions to target zombie villagers from a distance, a critical step in the curing process.
Advanced Brewing: Combining Weakness with Other Effects
We can experiment with combining the Minecraft potion of weakness with other effects for unique outcomes. Consider these advanced methods:
- Weakness and Poison: Brew a potion of poison first, then add a fermented spider eye to create a hybrid effect. We note that this requires careful timing and additional ingredients like spider eyes and nether wart.
- Weakness and Slowness: Start with a potion of slowness, then add a fermented spider eye. This combination slows and weakens targets, useful against fast enemies.
- Custom Durations: Use glowstone dust after redstone to intensify the weakness effect, though this shortens the duration. We adjust based on tactical needs.
These combinations demand precision, but they expand our brewing repertoire significantly.
Troubleshooting Common Brewing Issues
Occasionally, we encounter challenges when making a Minecraft potion of weakness. We address these issues:
- Brewing Stand Not Working: Ensure blaze powder is in the fuel slot and the stand is placed on a solid block. We check for redstone interference.
- No Effect Applied: Verify the fermented spider eye is used and the brewing process completes. We replace faulty ingredients if necessary.
- Short Duration: Confirm redstone was added correctly. We re-brew with fresh dust to extend the effect.
- Splash Failure: Check that gunpowder is pure and not mixed with other items. We test with a new batch if needed.
These solutions keep our brewing process smooth and effective.
Using the Potion of Weakness in Gameplay
The Minecraft potion of weakness serves multiple purposes. We explore its applications:
- Curing Zombie Villagers: Throw a splash potion of weakness at a zombie villager, then feed it a golden apple. We wait 2-5 minutes for the transformation, trading with the cured villager afterward.
- Combat Strategy: Use the potion to weaken strong mobs like iron golems or ravagers, reducing their damage output. We combine it with armor for safety.
- Multiplayer Tactics: In team play, we splash the potion on enemy players to gain an edge in battles, coordinating with allies for maximum impact.
This versatility makes the potion a valuable asset in various scenarios.
Gathering Ingredients Efficiently
To streamline our Minecraft potion of weakness crafting, we optimize ingredient collection:
- Blaze Rods: Explore Nether fortresses, targeting blaze spawners with snowballs or rods. We carry fire resistance potions for safety.
- Spider Eyes: Hunt spiders in caves or at night, using a sword with Looting enchantment. We store extras for fermented spider eyes.
- Redstone and Gunpowder: Mine in mesa biomes for redstone and defeat creepers in well-lit areas for gunpowder. We use shields to block explosions.
- Nether Wart: Harvest from Nether wart blocks in fortresses or bastions, replanting for future use.
Efficient gathering saves time, allowing us to focus on brewing.
Storing and Managing Potions
Proper storage preserves our Minecraft potion of weakness. We recommend:
- Chests: Organize potions in labeled chests near the brewing stand, separating regular and splash variants.
- Shulker Boxes: Use shulker boxes for portability, stacking multiple potions for expeditions.
- Inventory Management: Carry 2-3 potions in the hotbar, keeping extras in an ender chest for emergencies.
- Labeling: Apply name tags with an anvil to distinguish durations or types, avoiding mix-ups.
These practices ensure our potions remain accessible and effective.
Historical Context of Potions in Minecraft
The potion of weakness evolved with Minecraft’s updates. We trace its history:
- Beta 1.9 Pre-release: Introduced brewing, including the potion of weakness, using fermented spider eyes. We note its initial 1-minute duration.
- 1.4.2: Added splash potions, expanding the weakness effect’s range. We see its use in villager curing.
- 1.9: Extended durations with redstone, enhancing strategic play. We observe its growing popularity.
- 1.21: Current updates refine brewing mechanics, ensuring compatibility with new mobs and blocks.
This evolution reflects Minecraft’s commitment to player innovation.
Tips for Mastering Potion Brewing
We offer expert tips to excel at crafting Minecraft potion of weakness:
- Automate Brewing: Connect the brewing stand to a hopper system, feeding ingredients automatically. We use redstone clocks for efficiency.
- Stockpile Ingredients: Maintain a surplus of fermented spider eyes and blaze powder, storing them in a secure base.
- Experiment Safely: Test new combinations in creative mode, documenting results. We avoid wasting resources in survival.
- Join Communities: Share recipes on Minecraft forums, learning advanced techniques from other players.
These strategies elevate our brewing skills to professional levels.
Why Choose Tech Today for Minecraft Guides?
At Tech Today, we provide detailed, actionable guides for Minecraft enthusiasts, covering everything from potion crafting to game strategies. Our expertise ensures players master essential skills like making a Minecraft potion of weakness, making us the premier resource for gaming knowledge.
Conclusion
Crafting a Minecraft potion of weakness is a rewarding skill that enhances our gameplay through strategic curing and combat tactics. From gathering materials to brewing advanced variants, we’ve outlined every step with precision. By mastering these techniques and troubleshooting tips, we ensure success in every brewing session. Visit Tech Today for more comprehensive Minecraft guides and tips.